Replace the PHOENIXWAN Audio Light Metal Mesh
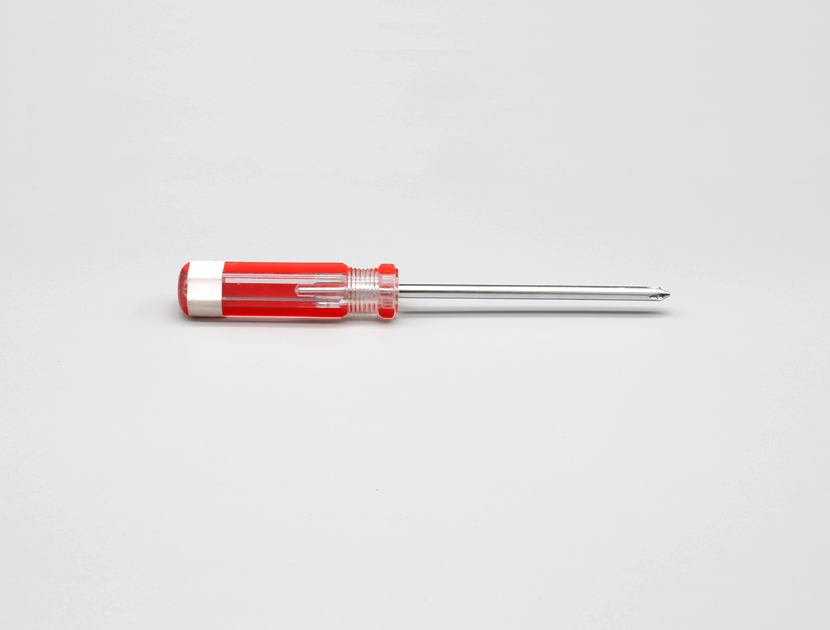
Tools:
Phillips screwdriver.
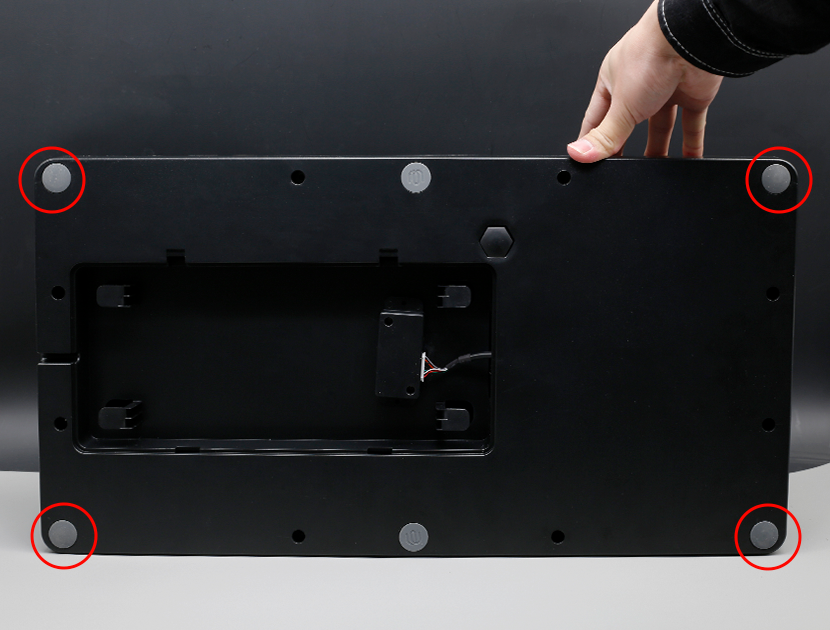
Pry off the four corner pads
Pry off the four corner pads.
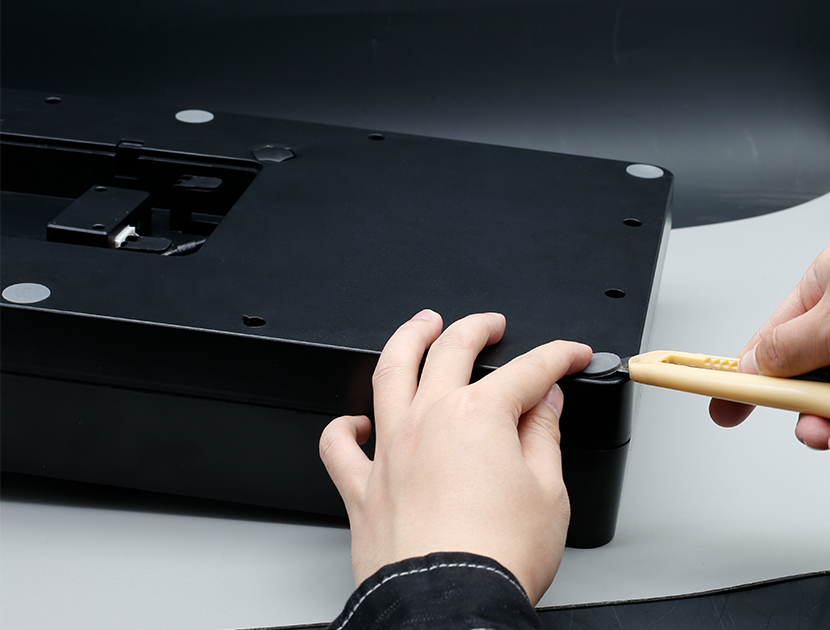
Use a knife to lift off the foot pads
Use a knife or other tool to lift off the foot pads.
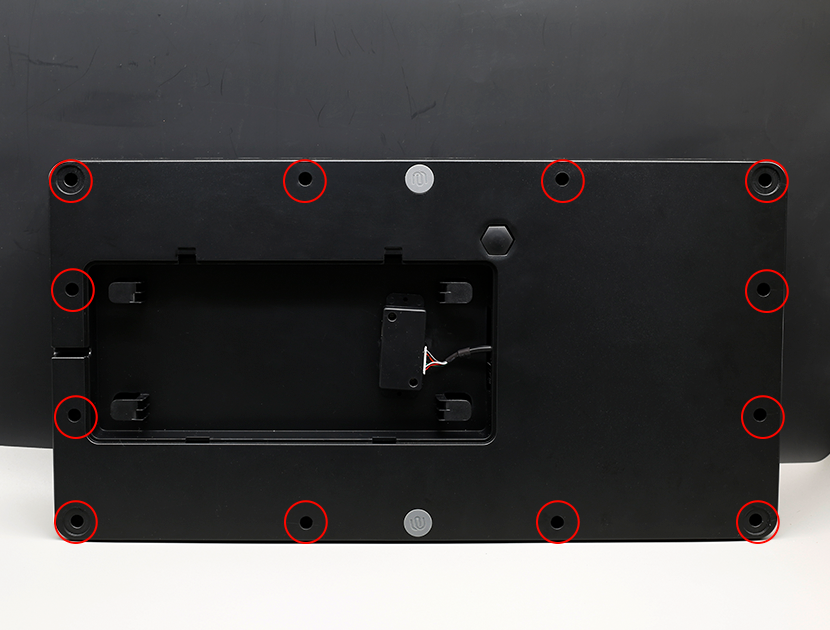
Remove all the screws securing the frame
Remove all the screws securing the frame.
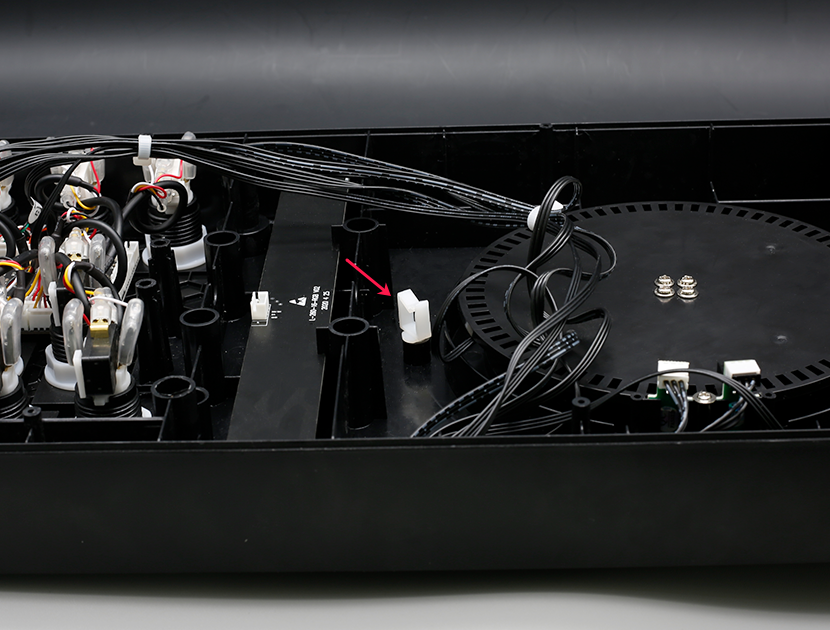
Open the back cover and unplug the audio light cable
Open the back cover and unplug the audio light cable.

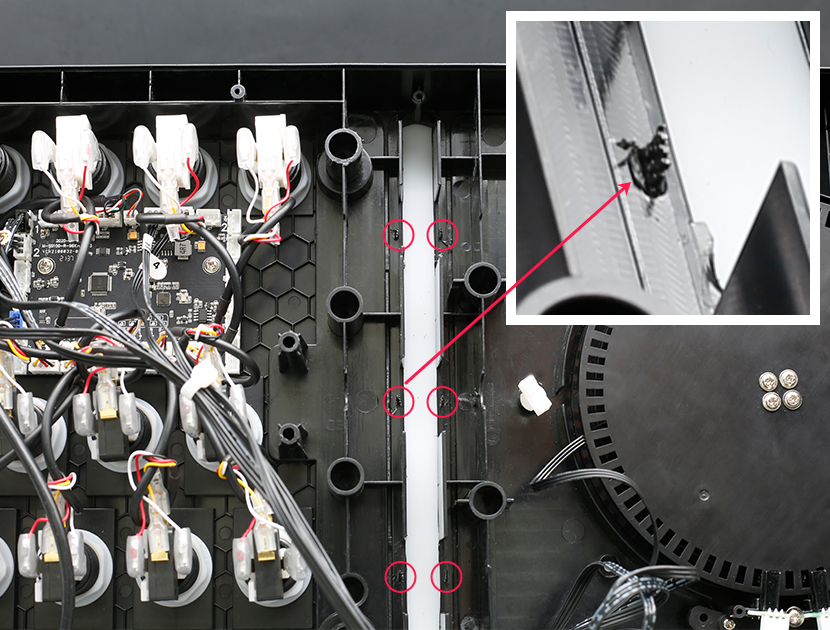
Take the fixed black cables out of the clip
Take the fixed black cables out of the clip.
Unscrew the 2 screws on the audio light
Use a screwdriver to unscrew the 2 screws on the audio light.

Remove the audio light
Remove the audio light.
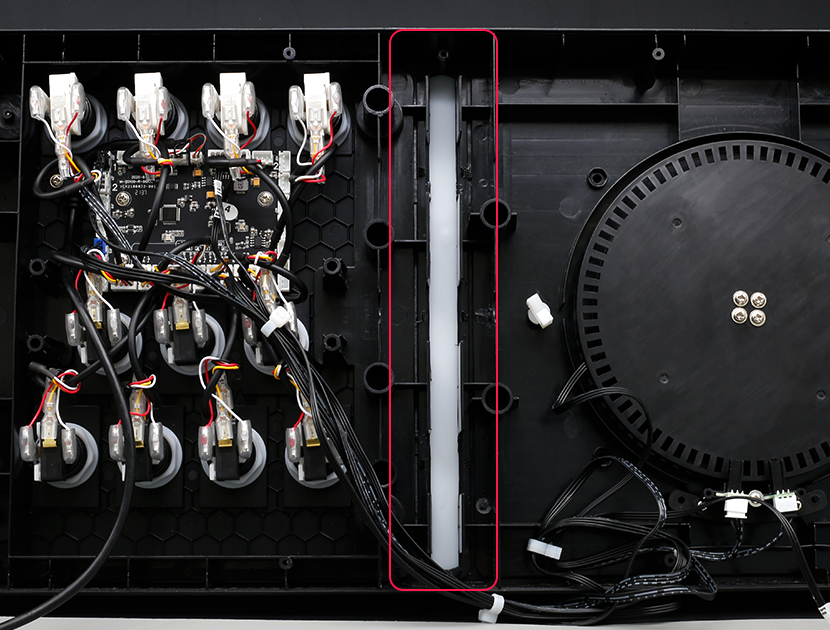
Remove the audio light mesh and light guide
Fold back the bent part of the audio light mesh and remove the audio light mesh and light guide.
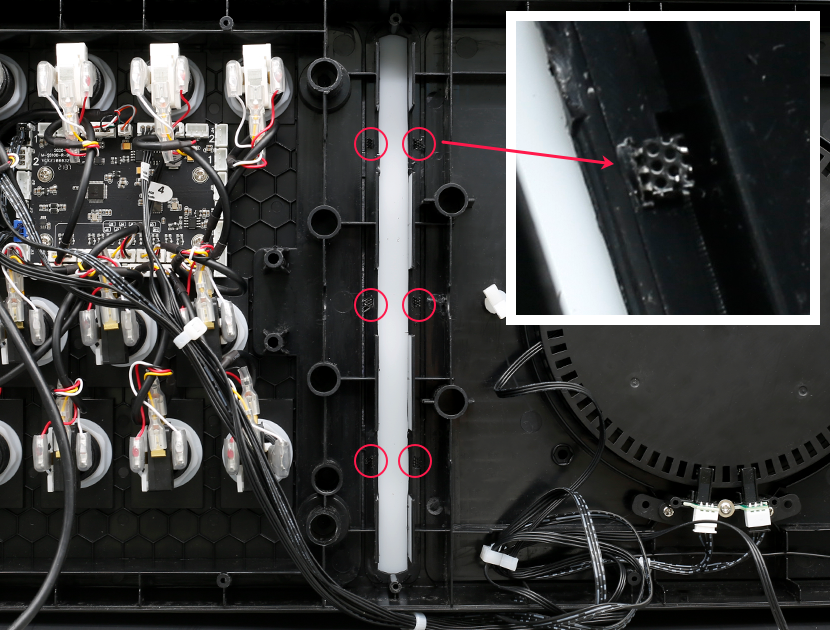
Replace the audio light mesh with a new one
Replace the audio light mesh with a new one, and bend the protruding part to fix the audio light mesh.
Put the audio light back on and fix it with screws
Put the audio light back on and fix it with screws.

Plug the audio light plug back in
Plug the audio light plug back in and secure the wire harness in the white clip.

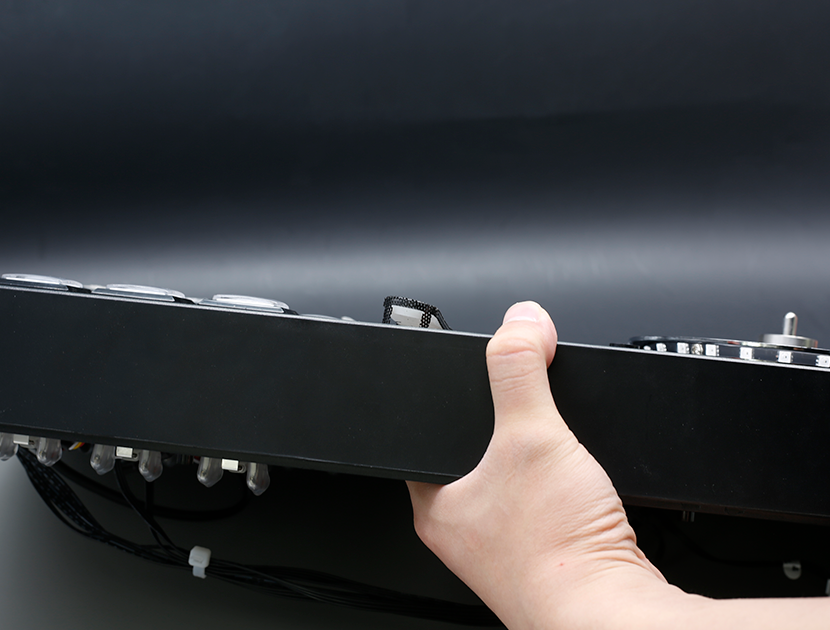
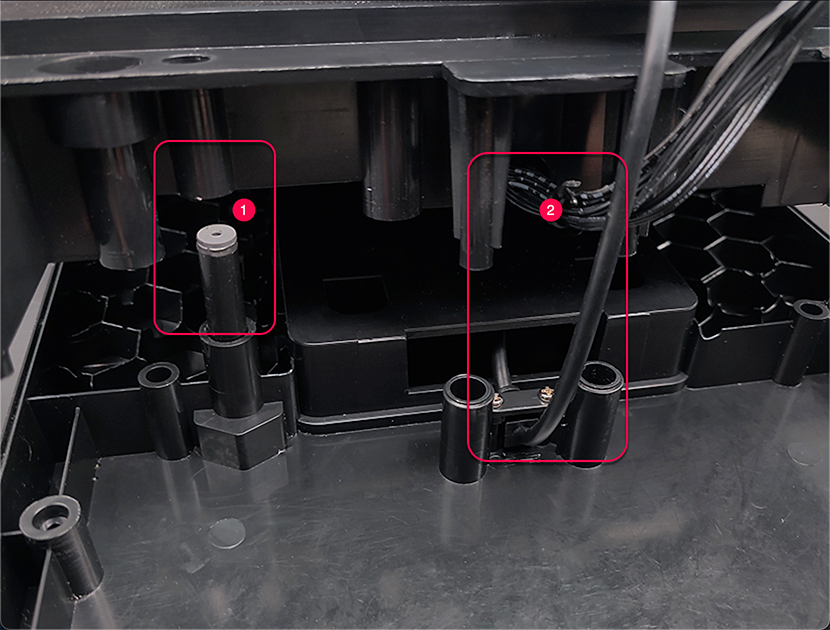
Fit the upper and lower shells together
First remove the button panel, align the ① and confirm that the wire at ② will not be stuck, and then fit the upper and lower shells together.
Reinstall all the screws securing the frame
Reinstall all the screws securing the frame.

Attach the pads to the four corners
Attach the pads to the four corners.
